Best Forex Brokers for Beginners (Top Picks + What to Look For)

Picking a forex broker is your first real trading decision. Get it wrong and you pay more, struggle to place trades, or risk your deposit.
This guide lists the best forex brokers for beginners, with clear reasons for each pick. You will learn what to check before you open an account, what features matter on day one, and what to ignore.
We focus on practical factors, regulation, fees, spreads, commissions, minimum deposit, demo accounts, platform ease of use, education, and support. We also cover common traps like hidden charges and weak investor protection. If you want a deeper screening process, use our practical broker checklist.
Key Takeaways
- In het kort: Start with regulation. Pick a broker licensed in a top-tier jurisdiction and check the license number on the regulator site.
- In het kort: Keep costs simple. Compare spreads, commissions, and swap rates on the pairs you will trade, not the broker’s “from 0.0” headline.
- In het kort: Watch hidden charges. Check deposit and withdrawal fees, inactivity fees, conversion fees, and guaranteed stop fees if offered.
- In het kort: Lower your day one risk. Use a demo account first, then start small with a low minimum deposit and small position sizes.
- In het kort: Choose an easy platform. You need clean order entry, clear pricing, risk controls, and stable execution, not extra indicators.
- In het kort: Demand basic protection. Look for segregated client funds, negative balance protection where applicable, and clear complaint channels.
- In het kort: Use support as a test. Message them before you fund your account and judge speed, clarity, and availability.
- In het kort: Use a checklist. Follow our practical broker checklist and screen brokers the same way every time.
Quick Comparison: Best Forex Brokers for Beginners (Top Picks)
Snapshot: Top Forex Brokers for Beginners
Use this table to narrow your shortlist fast. Then confirm your exact costs and eligibility on the broker site. Terms change by country and entity.
| Broker | Min deposit | Typical pricing | Regulation (examples) | Platforms | Best for |
|---|---|---|---|---|---|
| IG | Low to moderate, varies by region | Spread pricing on most accounts, costs vary by instrument | FCA, ASIC, other top tier entities | IG platform, MT4 (region dependent) | Best overall beginner mix |
| OANDA | Low, often flexible | Spread pricing, transparent reporting | FCA, CFTC and NFA (US), ASIC (entity dependent) | OANDA Trade, MT4, TradingView (availability varies) | Simple onboarding and pricing clarity |
| Pepperstone | Low | Razor style account with tight spreads plus commission, or standard spread only | ASIC, FCA, CySEC, DFSA (entity dependent) | MT4, MT5, cTrader, TradingView | Best low cost for active beginners |
| FOREX.com | Low | Spread pricing, commission options in some regions | FCA, CFTC and NFA (US), ASIC (entity dependent) | FOREX.com platform, MT4, TradingView (region dependent) | Structured learning plus solid execution |
| eToro | Moderate, varies by country | Spread based pricing, extra non trading fees may apply | FCA, CySEC, ASIC (entity dependent) | eToro web, eToro app | Copy trading and simple UI |
| Plus500 | Low to moderate, varies by region | Spread only on CFDs, overnight funding costs apply | FCA, CySEC, ASIC, MAS (entity dependent) | Plus500 web, Plus500 app | Best mobile first experience |
Top Pick Categories
- Best overall: IG. Strong regulation footprint, clean platform, good beginner flow.
- Best low cost: Pepperstone. Tight spreads on commission accounts, broad platform choice.
- Best education: FOREX.com. Clear learning paths and market content, solid tools.
- Best mobile: Plus500. Fast setup, simple order tickets, strong app focus.
- Best for copy trading: eToro. Built around social and copy features, easy to start.
- Best for small accounts: OANDA. Low barriers in many regions, strong pricing transparency.
How to Use This List
- Choose by country first: Shortlist only brokers that accept your region and regulate you under a reputable local entity.
- Choose by budget next: If your account is small, avoid high minimum deposits and prioritize low total trading costs.
- Choose by learning style: If you want structure, pick the strongest education stack. If you learn by doing, prioritize demo quality and platform simplicity.
- Match the platform to your plan: If you want automation or lots of indicators, MT4 or MT5 matters. If you want a clean UI, proprietary apps win.
- Compare account types, not marketing: A tight spread plus commission can beat a wider spread only account. Use this guide on spread vs commission pricing when you compare.
Important Note on Availability and Entities
Not all brokers accept all regions. The US, UK, EU, and AU often get different products, leverage limits, fees, and platforms. Always confirm the exact regulated entity you will sign under, the platform you will get, and the full cost schedule before you deposit.
How We Chose and Tested These Brokers (E-E-A-T + Methodology)
E-E-A-T and Methodology
We picked brokers the way you should pick one, by checking licensing, reading the legal terms, and testing the platform flow a beginner will use. We focused on what affects your risk, your costs, and your ability to place and manage trades without mistakes.
We do not rank brokers by hype, promotions, or social proof. We rank them by verifiable data and repeatable checks.
Evaluation Criteria and Weighting
| Category | Weight | What we checked |
|---|---|---|
| Trust and regulation | 35% | Regulated entity, license status, client money rules, negative balance protection where applicable, complaints history signals, clear risk warnings. |
| Costs | 25% | Typical spreads, commissions, minimum trade size, swap rates visibility, deposit and withdrawal fees, inactivity fees, currency conversion fees. |
| Usability | 15% | Account opening steps, platform layout, order ticket clarity, chart basics, alerts, position management, error prevention. |
| Education | 10% | Beginner lessons, platform walkthroughs, glossary, risk management content, quality of examples, update frequency. |
| Product range | 10% | Major FX pairs coverage, micro or small sizing support, CFDs availability where legal, hedging rules, copy trading where offered. |
| Support | 5% | Support hours, live chat quality, ticket handling, help center accuracy, clarity on fees and entity-specific rules. |
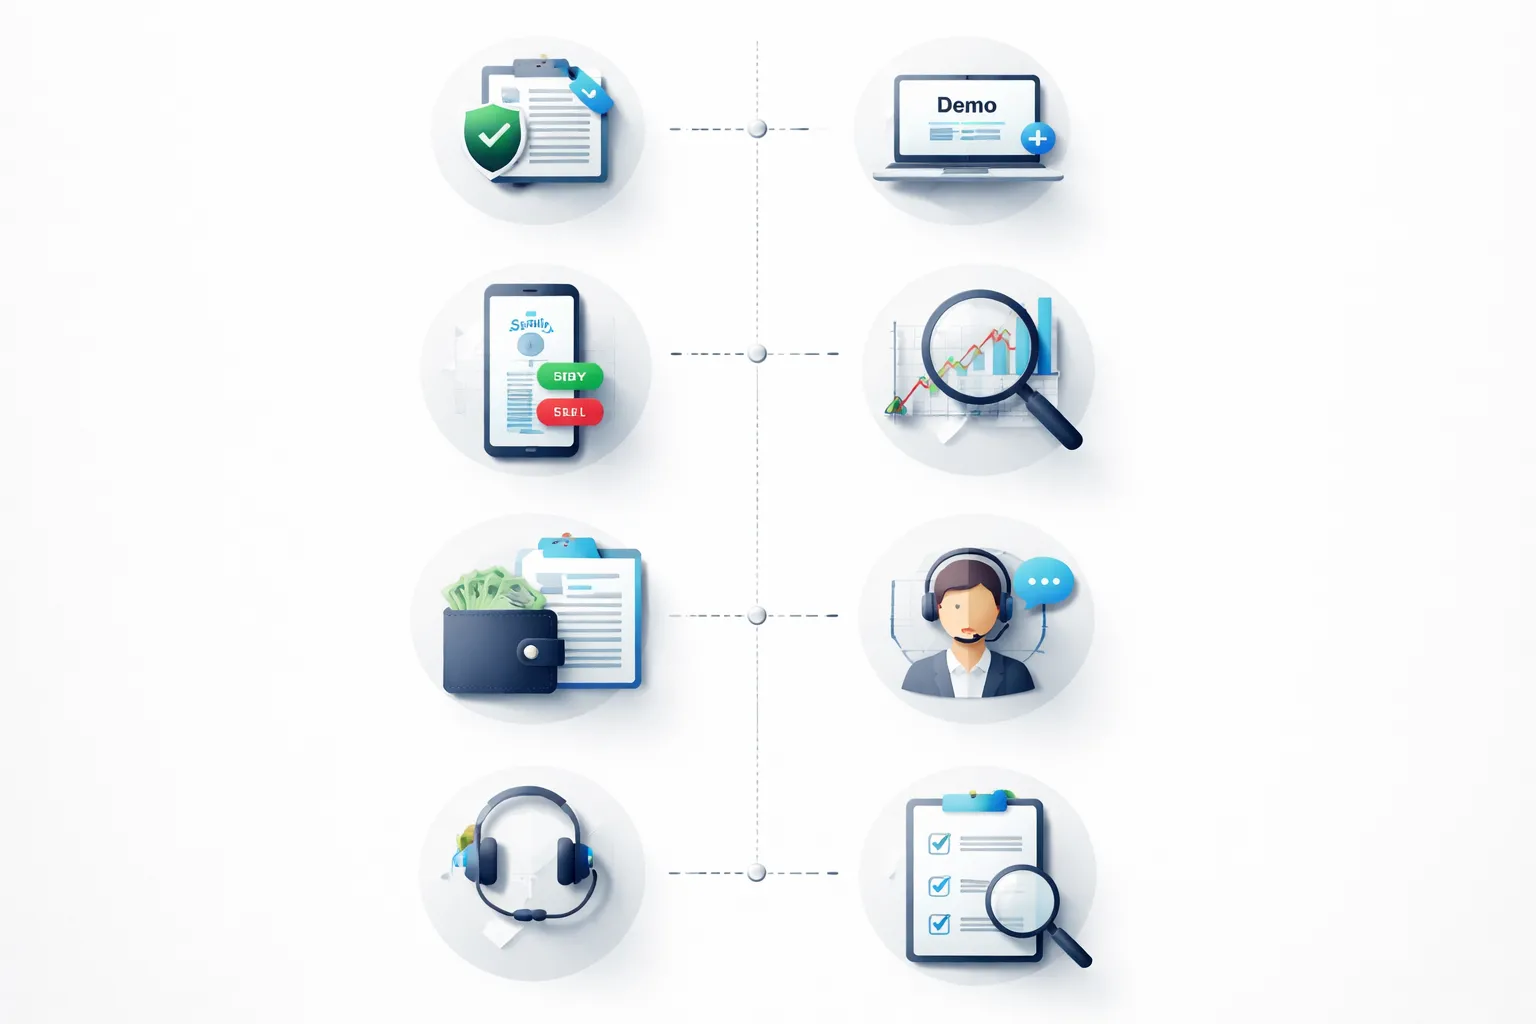
Hands-on Testing Workflow
- Step 1, confirm the entity. We identified which regulated entity serves each region and which protections apply. If the broker pushed users to an offshore entity, it scored lower.
- Step 2, open a demo. We created a demo account and checked how fast you can get trading access, how clear the setup is, and what defaults the broker uses for leverage and margin.
- Step 3, place real order types. We tested market and limit orders, stop loss, take profit, and partial closes. We looked for confusing labels, hidden settings, and friction points that lead to beginner errors.
- Step 4, check execution and slippage signals. We compared quoted spreads to spreads seen in the platform during normal liquid hours. We also checked whether the broker explains execution model and routing in plain language.
- Step 5, verify withdrawals process. We reviewed funding methods, withdrawal steps, expected timelines, and fee disclosures. We checked for vague language, extra verification steps, and unclear cut-off times.
- Step 6, test support with beginner questions. We asked simple questions about spreads vs commissions, margin, and withdrawal fees. We scored clarity and accuracy.
Data Sources We Used
- Regulator registers. We verified license numbers and entity names directly with regulators. For more on what to verify, see our regulated broker safety guide.
- Legal documents. We reviewed client agreements, execution policies, order handling disclosures, and risk warnings. We looked for clear language and consistent terms across pages.
- Pricing pages and fee schedules. We checked spreads, commissions, swaps, and non-trading fees. We favored brokers that publish clear, current costs per account type and per entity.
- Platform specifications. We checked supported platforms, order types, chart tools, and mobile features. We verified whether features differ by region and entity.
- Third-party reviews and user feedback. We used them as leads, not proof. Reviews skew toward extreme experiences. Some get incentivized. We only treated repeated, specific complaints as a prompt to re-check the broker’s disclosures.
What We Do Not Consider
- Unrealistic bonuses and promotions. Big deposit bonuses often come with hard withdrawal rules and higher risk behavior.
- Unverified claims. We ignore marketing like “zero spreads” unless the full pricing schedule proves it and shows the trade-off.
- Influencer-driven rankings. We do not use affiliate payouts, social media popularity, or sponsored awards to decide the list.
What Makes a Forex Broker Beginner-Friendly?
A beginner-friendly broker reduces friction, reduces confusion, and reduces the odds you blow up your account fast. You should feel in control from signup to your first live trade.
Simple onboarding
- Fast account opening. You should finish the form in minutes, with clear questions and no upsells blocking you.
- Clear verification steps. A good broker tells you what documents you need, how to upload them, and how long approval usually takes.
- Clean first deposit flow. You should see minimum deposit, deposit fees, processing time, and withdrawal method rules before you fund.
- Local-friendly funding. Look for bank transfer and card options you actually use, plus a base currency that avoids forced conversion fees.
- Early access to the platform. You should be able to explore the app and place demo trades before you deposit.
Learning-first features
- Unlimited demo account. You need enough time to learn order types, spreads, and margin without pressure.
- Guided lessons that match the platform. Education should show the exact buttons you will use, not generic theory.
- Practice tools that mirror live trading. You should be able to set stop-loss and take-profit in demo, view margin impact, and read a real trade ticket.
- Simple market info. A basic economic calendar and news feed help you understand why price moves, without pushing you into constant trading.
Protection from common mistakes
- Negative balance protection. You should not owe money after a fast market move.
- Clear margin and liquidation rules. The broker should show margin used, free margin, and the exact stop-out level, inside the platform.
- Sensible leverage defaults. High leverage should require an explicit choice, not come pre-set on day one.
- Risk controls you can set once. Look for maximum position size limits, account-level loss limits, and price alerts.
- Order and volatility warnings. The platform should flag when you place oversized trades or trade during extreme spreads and low liquidity.
Clear product scope, spot FX vs CFDs
Most beginner “forex” accounts are CFDs on FX, not spot FX. You trade a contract with the broker, you do not take delivery of currency. That changes how costs and risks show up.
- Spot FX vs FX CFDs. With CFDs, you pay spreads and sometimes commissions, plus overnight financing on many positions.
- What you are actually trading. The broker should label products clearly, FX, indices, commodities, crypto, shares, and separate which are CFDs.
- Cost clarity per instrument. You should see typical spread, commission if any, and swap rates before you trade. Use this guide to understand forex broker fees.
- Contract details in the trade ticket. You should see contract size, pip value, margin required, and estimated cost to hold overnight.
| Beginner-friendly signal | What you should see |
|---|---|
| Onboarding | Clear verification checklist, transparent deposit and withdrawal rules |
| Learning | Demo with real trade ticket, guided platform lessons |
| Risk controls | Negative balance protection, clear stop-out level, leverage you choose |
| Product clarity | CFD labeling, contract specs, costs shown before you click buy or sell |
Safety First: Regulation, Trust, and Account Protections
Safety First: Regulation, Trust, and Account Protections
Start with regulation. It sets the rules your broker must follow. It also gives you a place to complain if things go wrong.
Tier-1 regulators, what they are and why they matter
Tier-1 regulators sit in major financial centers. They enforce strict capital rules, audits, complaint handling, and client money controls. A tier-1 license does not remove risk, but it reduces the chance you deal with a fly-by-night firm.
- FCA (UK). Strong conduct rules. Clear register search. UK firms usually offer Financial Services Compensation Scheme cover for eligible clients.
- ASIC (Australia). Tight rules on how brokers hold client money and market products. Public register. ASIC does not run a retail investor compensation scheme like the UK.
- CySEC (Cyprus, EU). EU framework and passporting rules. Many EU brokers operate from Cyprus. Eligible clients may fall under the Investor Compensation Fund.
- NFA and CFTC (US). The toughest environment for retail forex. High capital standards, leverage limits, heavy reporting. You must see both the CFTC oversight and NFA membership for a US retail forex dealer.
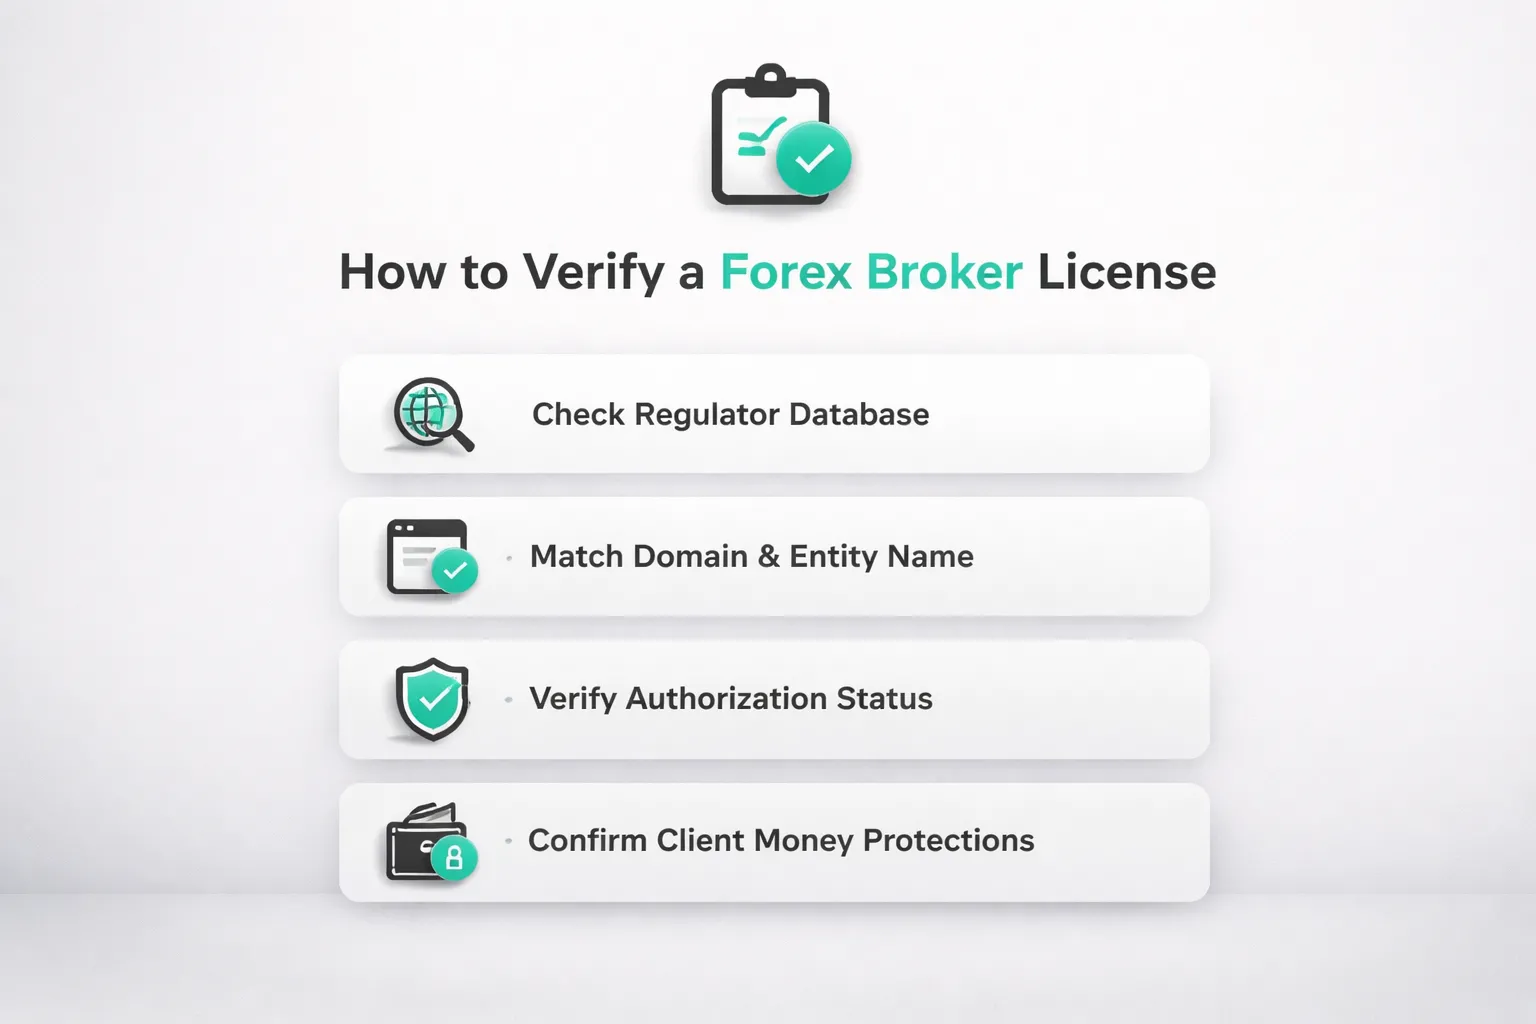
How to verify a broker license, step by step
Do not trust a badge on a homepage. Verify the exact legal entity you will sign with.
- Step 1. Scroll to the broker footer. Find the legal company name, country, and license number.
- Step 2. Open the regulator register. Use the official database, not a third-party list.
- Step 3. Search the license number first. If none, search the legal name.
- Step 4. Match the details. Company name, trading name, website domain, and address must line up.
- Step 5. Check permissions. The firm must have approval for forex or CFDs, not just general financial services.
- Step 6. Check status. You want “Authorised” or “Registered” as appropriate, not “Appointed representative only”, “Suspended”, or “Revoked”.
- Step 7. Confirm your account entity. Many brands use multiple entities. The protections depend on the entity named in your client agreement.
If you want a deeper checklist, read our guide to regulated forex brokers.
Client money safeguards you should look for
- Segregated client funds. The broker holds your money in separate client accounts, apart from its operating funds. This helps if the broker fails, but it does not protect you from trading losses.
- Negative balance protection. You cannot lose more than your deposit in extreme moves. This matters most when you trade leveraged CFDs.
- Investor compensation schemes. These may cover eligible clients if a regulated firm fails and client money is missing. Coverage depends on the regulator and your entity. Read the scheme rules, limits, and eligibility before you fund.
Red flags that should stop you
- Offshore entities for retail clients. You see regulation claims, but the account opens under a lightly regulated island jurisdiction.
- Clone firms. Scammers copy a real broker name or license number. The register will show a different website domain or contact details.
- Pressure tactics. Urgency pushes, bonus traps, or repeated calls to deposit more. A serious broker does not sell like this.
- Vague legal disclosures. Missing entity name, no license number, unclear fee tables, or no clear risk warnings. If you cannot identify who holds your money, walk away.
Platforms and Tools: What You Need on Day One
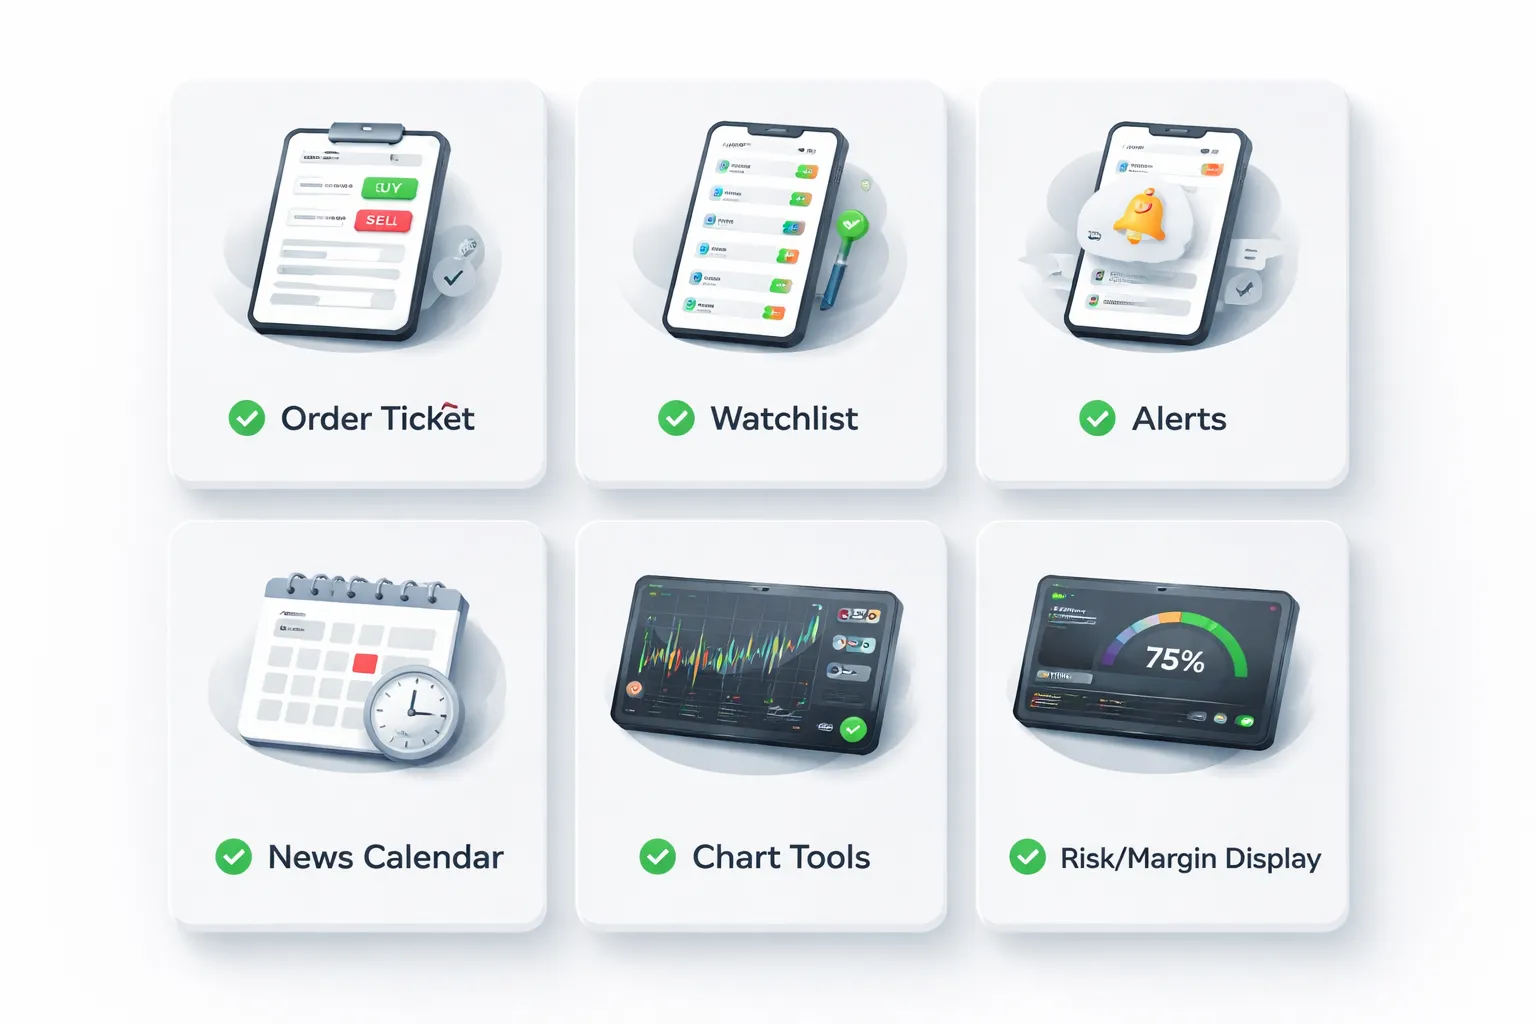
Beginner platform checklist
- Clean layout. You should find quotes, charts, and orders in one screen. If you need three menus to place a trade, you will make mistakes.
- Simple order ticket. You should see size, stop loss, take profit, and estimated margin before you click buy or sell.
- Watchlists. Create a short list of 10 to 20 pairs. Pin your main pair at the top. Hide the rest.
- Price alerts. Set alerts on key levels so you do not stare at the chart. Use push alerts on mobile and pop ups on desktop.
- Basic news calendar. You need event time, currency, and expected impact. You do not need a stream of opinions.
- Risk and margin info. Your platform should show used margin, free margin, and margin level. If it hides these numbers, skip it.
- One click trade toggle. Keep it off on day one. Turn it on only after you can place a trade without rushing.
- Demo mode. Use the same platform you will use live. Practice the exact order flow and ticket fields.
Execution basics: order types that prevent errors
Most beginner losses start with execution mistakes. Use the right order type and you cut those errors fast.
- Market order. You enter now at the best available price. Use it when you accept small slippage. Avoid it in fast news.
- Limit order. You enter at your price or better. You control price, but you may miss the trade.
- Stop order. You enter only if price breaks a level. You trade momentum, but slippage can rise in spikes.
- Stop loss. You cap the loss on a single trade. Place it with the entry, not after.
- Take profit. You lock a target. Use it if you cannot watch the trade.
- Guaranteed stop loss, if offered. You pay a premium, but you remove gap risk on that trade. Read the broker rules first.
Set your stop and take profit in the ticket. Confirm size in lots and in account currency. Check margin impact before you send the order.
Charting essentials: what to use, what to ignore
You do not need a complex chart. You need consistency.
- Candlesticks or bars. Pick one and stick with it.
- Timeframes. Use one higher timeframe for context and one lower for entries. Example, 4H and 15M.
- Key levels. Mark clear swing highs and lows. Mark round numbers. Keep your chart readable.
- Moving averages. Use 20 and 50 for a simple trend filter. Do not stack five lines.
- ATR. Use it to sanity check stop distance. If your stop sits inside normal noise, you will get clipped.
- RSI. Use it for basic momentum and divergence checks. Do not treat overbought or oversold as an automatic signal.
Ignore custom indicators, signal packs, and anything that needs constant tuning. If it changes every week, it will not build your skill.
Mobile vs desktop: when each matters
Desktop helps you plan. Mobile helps you manage.
- Use desktop for analysis and execution. You see levels, news times, and margin in one view. You make fewer sizing mistakes.
- Use mobile for alerts and trade management. Adjust stops, reduce size, or exit if your plan breaks.
- Limit mobile trading. Turn off one click trading. Hide most instruments. Keep only your watchlist.
- Set rules to avoid overtrading. No new trades on mobile unless it is a pre planned limit or stop order. Use alerts to pull you to the chart, not to the buy button.
Account Types, Minimum Deposits, and Lot Sizes Explained
Understanding micro, mini, and standard lots
Forex position size is measured in lots. Your lot size drives your pip value. Your deposit size does not.
- Standard lot, 1.00 lot = 100,000 units of the base currency.
- Mini lot, 0.10 lot = 10,000 units.
- Micro lot, 0.01 lot = 1,000 units.
On many USD-quoted pairs, a rough pip value is:
- 1.00 lot = about $10 per pip.
- 0.10 lot = about $1 per pip.
- 0.01 lot = about $0.10 per pip.
Use lot size to control risk. Pick your stop loss first, then set lot size so the loss matches your risk limit. If your broker blocks micro lots, you will struggle to size trades safely.
Also check the minimum trade size and lot step. Many brokers allow 0.01 minimum and 0.01 steps. Some instruments require larger minimums.
Minimum deposit reality check
A low minimum deposit looks beginner friendly. It can also push you into bad sizing. What matters is whether you can trade micro lots and keep risk small.
- $10 to $50, fine for platform testing. Expect sizing limits, higher relative costs, and fast drawdowns.
- $100 to $300, workable for learning with micro lots. You can keep risk per trade small if you stay disciplined.
- $500+, gives more room for normal stop sizes, fewer margin issues, and less pressure to oversize.
Watch your margin. A small account with high leverage can still run out of free margin after a few moves. Keep leverage conservative and avoid stacking positions.
Base currency and conversion costs
Your account has a base currency. Brokers use it to calculate balances, margin, and fees. If you fund in one currency and your account runs in another, you pay conversion.
- Choose an account currency that matches how you deposit and withdraw, for example USD account if you fund in USD.
- If you trade mostly one quote currency, matching it can reduce conversions on P and L, depending on the broker’s setup.
- Check the broker’s FX conversion fee and the rate source. Some brokers mark up the conversion rate.
Do not open multiple account currencies unless you need them. It adds complexity and can hide costs.
Islamic (swap-free) and other specialized accounts
Islamic accounts remove swap, which is the overnight financing charge or credit. They suit traders who need Sharia compliant trading, and traders who hold positions for days or weeks and want predictable costs.
Trade-offs are common:
- Some brokers replace swap with a fixed fee after a holding period.
- Some restrict instruments, position duration, or strategies.
- Approval can require documentation. Some brokers apply it only to certain regions.
Other account types you may see:
- Cent accounts, balances display in cents. Useful for practice with tiny risk, but spreads can be wider and instrument choice can be limited.
- Raw spread or commission accounts, lower spreads with a per-lot commission. Good for active traders, but you must compare total cost. See spread vs commission.
- Copy trading accounts, follow other traders. You still control risk via allocation and max drawdown rules. You can still lose money fast if you oversize.
Pick the simplest account that lets you trade micro lots, shows all fees clearly, and matches how you fund your account.
Leverage and Risk Management (Beginner Guardrails)
How leverage amplifies losses, a simple margin example
Leverage lets you control a larger position with less cash. It does not reduce risk. It concentrates it.
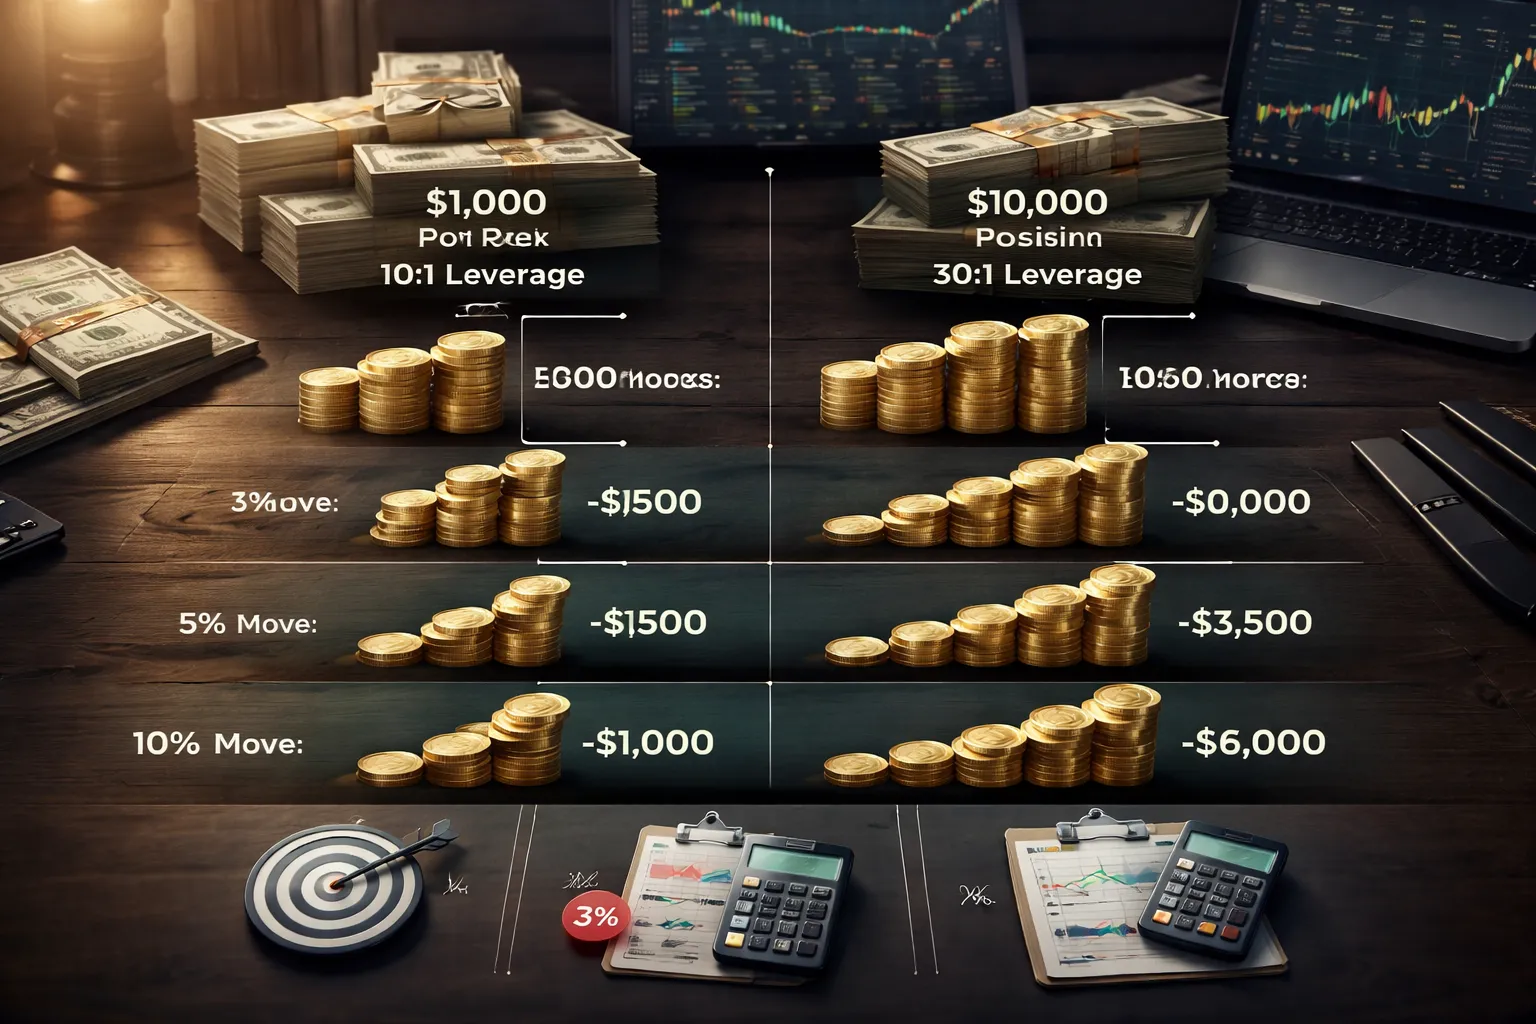
Example. You deposit $1,000. You open a $10,000 position with 10:1 leverage. That means your margin is about $1,000.
- If price moves against you by 1%, you lose about $100. That is 10% of your account.
- If price moves against you by 5%, you lose about $500. That is 50% of your account.
- If price moves against you by 10%, you lose about $1,000. That can wipe the account, or trigger a margin stop-out first.
Now compare 30:1 leverage on the same $1,000 account. You can control about $30,000. A 1% move becomes a $300 loss. That is 30% of your account.
Practical risk rules, 1% per trade, stop-loss placement, max daily loss
Set rules you can follow. Use them every trade.
- Risk 1% per trade. If you have $1,000, your max loss per trade is $10. If you have $5,000, your max loss is $50.
- Place the stop first, size second. Pick a stop level based on your setup. Then calculate position size so a stop hit equals your 1% risk. Do not do it the other way around.
- Set a max daily loss limit. A simple guardrail is 2% to 3% per day. Hit it, stop trading. You avoid revenge trading and death by a hundred cuts.
- Limit open risk. Keep total risk across all open trades under 2% to 4%. Correlated pairs can behave like one big position.
| Account size | 1% risk per trade | 3% max daily loss |
|---|---|---|
| $500 | $5 | $15 |
| $1,000 | $10 | $30 |
| $2,500 | $25 | $75 |
| $5,000 | $50 | $150 |
Broker tools to look for
Good brokers add friction in the right places. You want tools that help you cap losses.
- Guaranteed stop-loss (if offered). It can cap downside during gaps. It often costs extra. Read the terms and the premium.
- Margin alerts and stop-out transparency. You want clear levels for margin call and stop-out. You also want notifications before you get forced out.
- Position size and margin calculators. You should see required margin, pip value, and estimated swap before you place the trade. If the broker does not provide this, use a third-party calculator and double-check in the ticket.
- Negative balance protection. This helps prevent you from owing money after extreme moves. Confirm it applies to your account type and region.
Fees still matter. Swap and spreads change your break-even and your real risk. Keep your cost view simple and consistent. Use one reference page for how brokers charge, see spread and commission fees.
Why high leverage marketing is a warning sign for new traders
High leverage looks like fast growth. It usually delivers fast drawdowns.
- It pushes you to oversize. A normal price move becomes an account-level event.
- It increases liquidation risk. You get stopped out by margin, not by your plan.
- It hides bad habits. You can confuse leverage with skill while volatility stays quiet.
Pick a broker that lets you set lower leverage, trade micro lots, and see margin impact before you click buy or sell. Treat leverage as a cap, not a target.
Education and Research: Learning Resources That Actually Help
Structured learning paths: courses, quizzes, progress tracking
Education matters most in your first 50 trades. You need structure, not random videos.
- Beginner course that follows the trade workflow. Market basics, order types, risk per trade, position size, then execution and review.
- Short lessons. 5 to 15 minutes per topic works better than hour-long lectures.
- Quizzes and checkpoints. You should prove you understand margin, stop losses, and lot size before you place a live trade.
- Progress tracking. A simple dashboard that marks completed modules helps you finish the path.
- Platform-specific lessons. You must learn the exact buttons you will use, including where to set stops and limits.
Skip brokers that hide education behind a deposit requirement. Use the demo account and finish the basics first.
Market research: calendars, analyst notes, and using them without overload
You do not need constant news. You need a plan for when volatility changes.
- Economic calendar with filters. Filter by country, impact level, and your pairs. Start with high-impact events only.
- Event details. Look for previous, forecast, and actual values. That is enough for a beginner.
- Simple alerts. Set reminders 15 to 30 minutes before major releases so you can reduce size or stay flat.
- Analyst notes you can act on. Notes should show levels, trend direction, and invalidation points. Avoid vague opinions.
Use one primary research screen. Calendar first, then a short daily note, then your chart. Keep everything else closed. If you do not trade news, block it during your session.
Trading psychology basics: discipline, journaling, avoiding revenge trading
Your broker cannot make you disciplined. It can give you tools that reduce damage.
- Risk rules you can follow. Set a fixed risk per trade. Use a stop loss on every trade.
- Journaling support. Some platforms tag trades and export history. You want entry, exit, size, time, and notes in one place.
- Session and loss limits. Stop trading after a set number of trades or a set daily loss. Write the rule before you open the platform.
- Revenge trading controls. After a large loss, step away. Do not increase size to “get it back.”
Journal one thing only at first, your reason for entry in one sentence. If you cannot write it, you should not take the trade. For a broader decision framework, use this practical checklist for beginners.
Community features: webinars, live sessions, and spotting “guru” content
Community can help, or it can distract you. Choose brokers that keep it practical.
- Webinars with a syllabus. Look for topics like order types, risk, and platform use, not hype sessions.
- Live sessions with replay. Replays let you review and take notes. Live-only content pushes FOMO.
- Instructor credentials. You want clear roles like analyst, educator, or platform trainer. Avoid anonymous “pro trader” branding.
- Hard rules on performance claims. Be cautious with screenshots, signals, and unrealistic monthly returns.
- No pressure to trade more. Education should reduce trades, not increase them.
If a community pushes signals, copy trading, or paid upgrades as the main path, treat it as marketing. Your goal is process. Learn, practice, review, then scale slowly.
Deposits, Withdrawals, and Support: The Real-World Experience
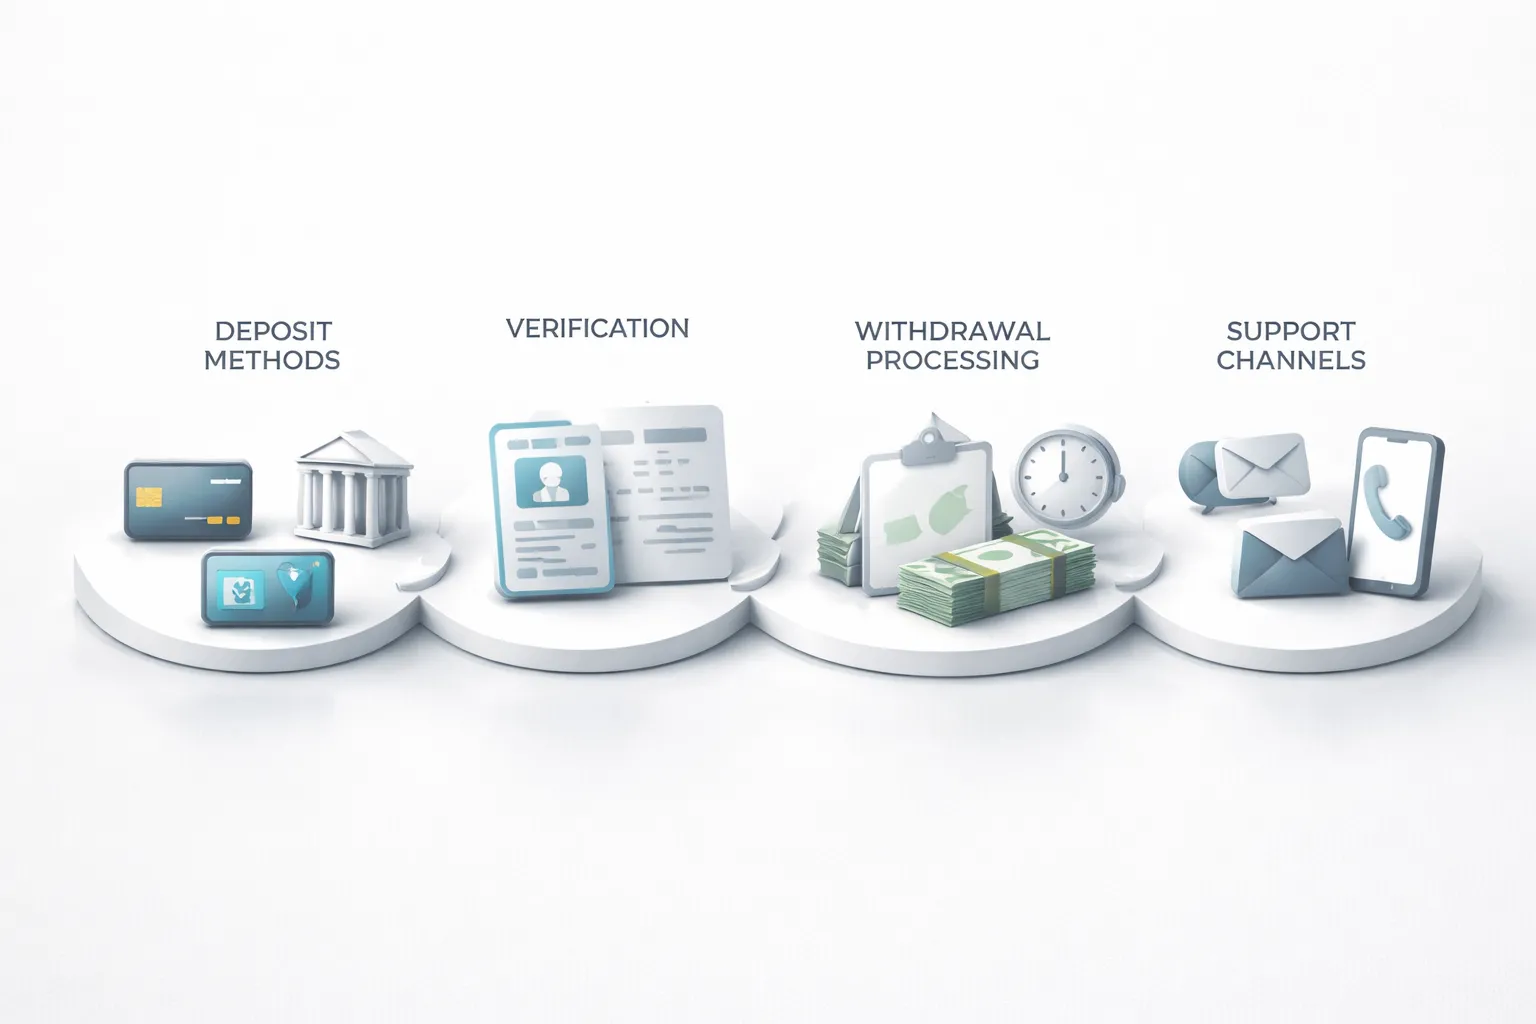
Funding Methods: Cards, Bank Transfers, E-Wallets, and Regional Options
Funding looks simple until you need speed, low fees, and a clean audit trail.
- Cards (debit, credit). Fast funding. Higher risk of declines, reversals, and issuer limits. Some brokers block credit cards. Many restrict withdrawals back to the same card up to the deposited amount.
- Bank transfer (wire, local transfer). Best for larger deposits. Slower. Banks can charge sending and intermediary fees. Your broker may require the bank account name to match your trading account name.
- E-wallets (PayPal, Skrill, Neteller). Fast deposits and withdrawals when supported. Fees vary by provider. Some brokers allow e-wallet deposits but force bank withdrawals, this adds friction.
- Regional methods. Options like SEPA, Faster Payments, UPI, PIX, or local bank rails can be cheap and quick. Availability changes by country and broker entity.
Before you deposit, check three items. Minimum deposit, deposit fees, and whether withdrawals must go back to the same method. This last point causes most beginner surprises.
Withdrawal Friction: Timelines, Verification Triggers, and Common Issues
Your real test comes when you withdraw. Good brokers treat withdrawals as routine. Bad brokers treat them as a negotiation.
- Typical timelines. Broker processing often takes 1 to 2 business days after approval. Card and e-wallet payouts can arrive the same day to 3 business days. Bank transfers often take 2 to 5 business days, longer for international wires.
- Verification triggers. First withdrawal. Large withdrawals. Changes to your payment method. Deposits from multiple sources. Unusual volume after a fresh deposit. Any mismatch between your name and the funding account.
- Common issues. “Send more documents” loops. Rejected withdrawals due to method rules. Partial withdrawals split across methods. Extra bank fees deducted on arrival. Delays around weekends and public holidays.
Keep your funding simple. Use one name, one bank account, one primary method. Save screenshots of deposit receipts and withdrawal confirmations. If you want a clean setup from the start, follow this guide on how to open a forex trading account.
Customer Support Quality: 24/5 Availability, Live Chat Testing, Multilingual Help
Support matters most when money or access breaks. You need fast, clear answers.
- 24/5 coverage. Forex runs from Monday to Friday. Support should match that schedule. Look for clear hours and clear channels.
- Live chat testing. Test before you fund. Ask about withdrawal rules, fees, and processing times. A strong team gives direct answers, links to policy pages, and ticket numbers.
- Email and ticket support. You need written records for disputes. Good brokers keep replies specific and signed with a real agent name or ID.
- Phone support. Useful for urgent access issues. Check local numbers and call costs.
- Multilingual help. If English is not your first language, pick a broker with support in your language. This reduces mistakes during verification and withdrawals.
Track response time and resolution time. Speed without resolution does not help you.
Account Management: Statements, Tax Documents, and Reporting Features
You need records that match your real activity. This protects you at tax time and during disputes.
- Account statements. Downloadable monthly and custom date-range statements. Look for deposits, withdrawals, realized P and L, swaps, commissions, and fees.
- Trade reports. Export to CSV or Excel. You want ticket-level detail, timestamps, instrument, size, open and close prices, and all costs.
- Tax documents. Availability depends on your country and broker entity. Some brokers provide annual summaries. Many do not. Plan to keep your own exports.
- Audit trail. Clear history of balance adjustments, promotions, and chargebacks. Missing entries signal poor back office controls.
- Account controls. Two-factor authentication, trusted device settings, and login history. These reduce account takeover risk.
Do one test cycle before you scale. Deposit a small amount, place a few trades, then withdraw. If this flow feels slow or unclear, move on.
Beginner Pitfalls to Avoid When Choosing a Forex Broker
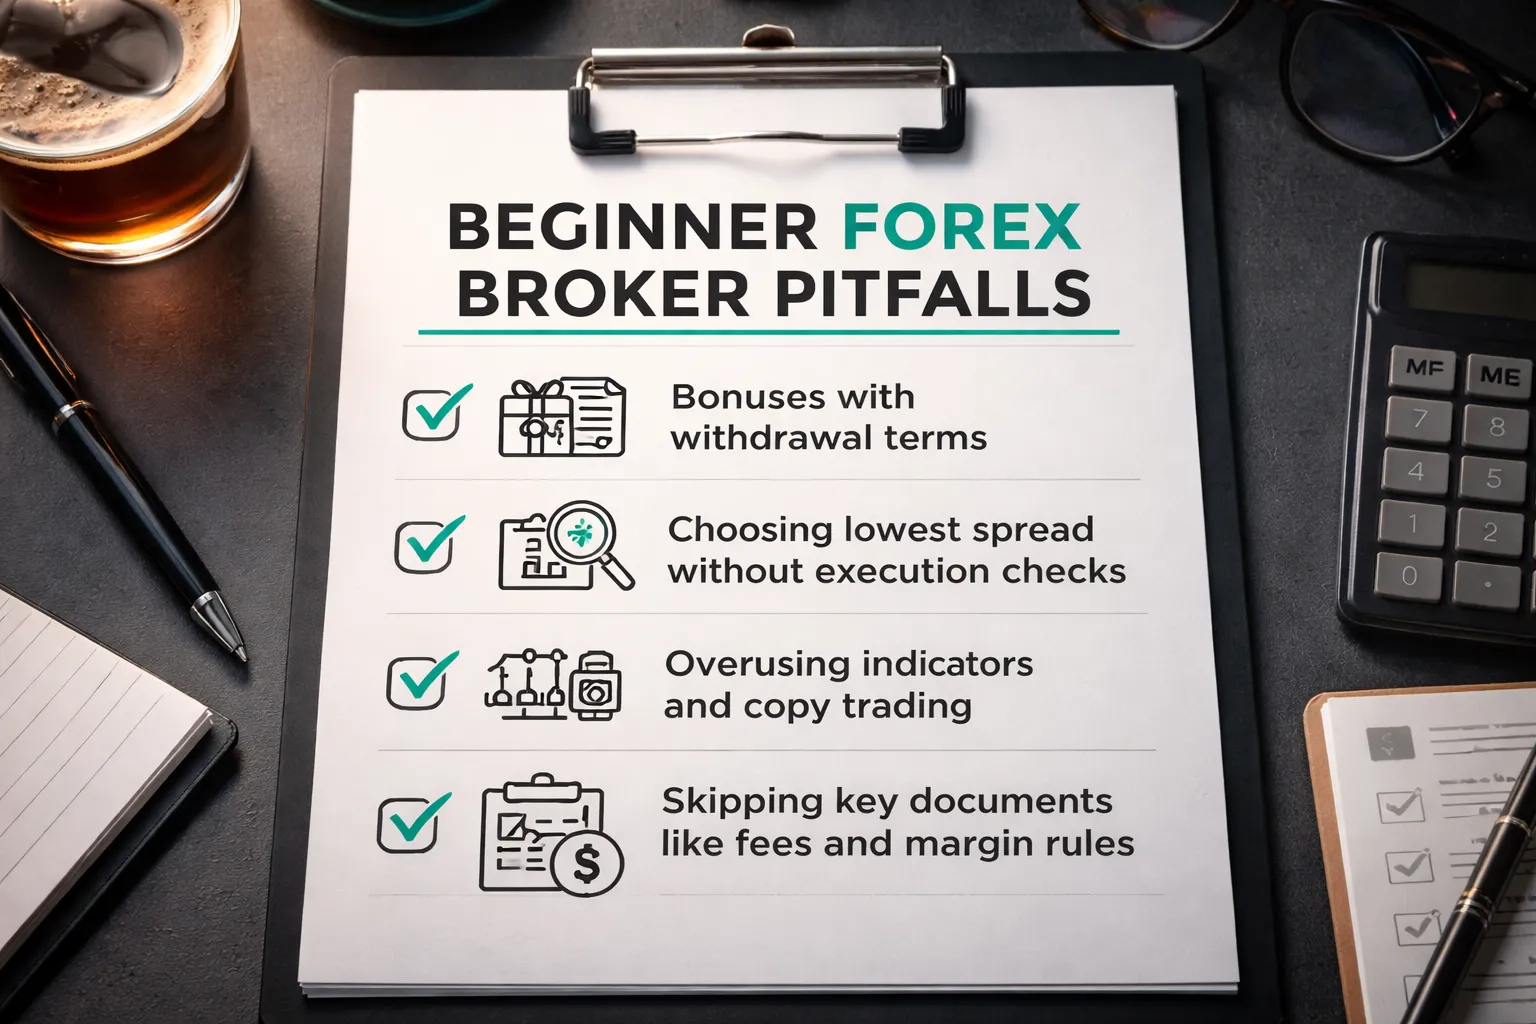
Falling for bonuses and promotions
Bonuses often come with trading volume targets. You may need to trade a large number of lots before you can withdraw bonus funds, or even your deposit.
- Read the withdrawal rules. Look for clauses that block withdrawals until you hit a turnover requirement.
- Check time limits. Some promos expire fast, then the broker voids the bonus and adjusts your balance.
- Watch for forced account states. Some brokers move you into a specific account type to qualify, with higher spreads or added fees.
- Prefer clean pricing over rewards. A small spread difference can cost less than a promo with restrictive terms.
Choosing solely by the lowest spread
A tight advertised spread does not guarantee low trading costs. Your real cost depends on execution, slippage, and whether the broker routes orders fairly.
- Compare typical spreads, not minimums. Minimum spreads often show quiet-market conditions only.
- Check commissions and swaps. A low spread plus a commission can cost more than a wider spread with no commission.
- Review order execution rules. Look for clear policies on requotes, partial fills, and negative slippage handling.
- Verify regulation first. A cheap broker with weak oversight can cost you more through poor execution or withdrawal friction. Use a regulated shortlist; see how to spot regulated brokers and red flags.
Overcomplicating tools
Too many indicators and features can push you into random decisions. Copy trading can do the same if you follow performance charts without risk context.
- Start with core tools only. Price chart, position size, stop-loss, take-profit, and an economic calendar.
- Avoid stacking indicators. Many indicators use the same price data and repeat the same signal.
- If you copy trade, audit risk. Check max drawdown, trade frequency, leverage use, and how long the track record runs.
- Test features on demo first. If the platform feels busy, you will trade worse under pressure.
Not reading key documents
The broker’s legal documents define how your account works. If you skip them, you miss the rules that control costs, margin calls, and withdrawals.
- Product disclosure or client agreement. Check execution method, conflicts of interest, and when the broker can change terms.
- Fees schedule. Look for inactivity fees, withdrawal fees, currency conversion fees, data fees, and platform fees.
- Margin rules. Confirm margin requirements by instrument, stop-out level, and whether margin changes during volatility.
- Negative balance protection. Confirm if it applies to your entity and account type, and under what conditions it may not apply.
Step-by-Step: How to Choose the Best Forex Broker for You
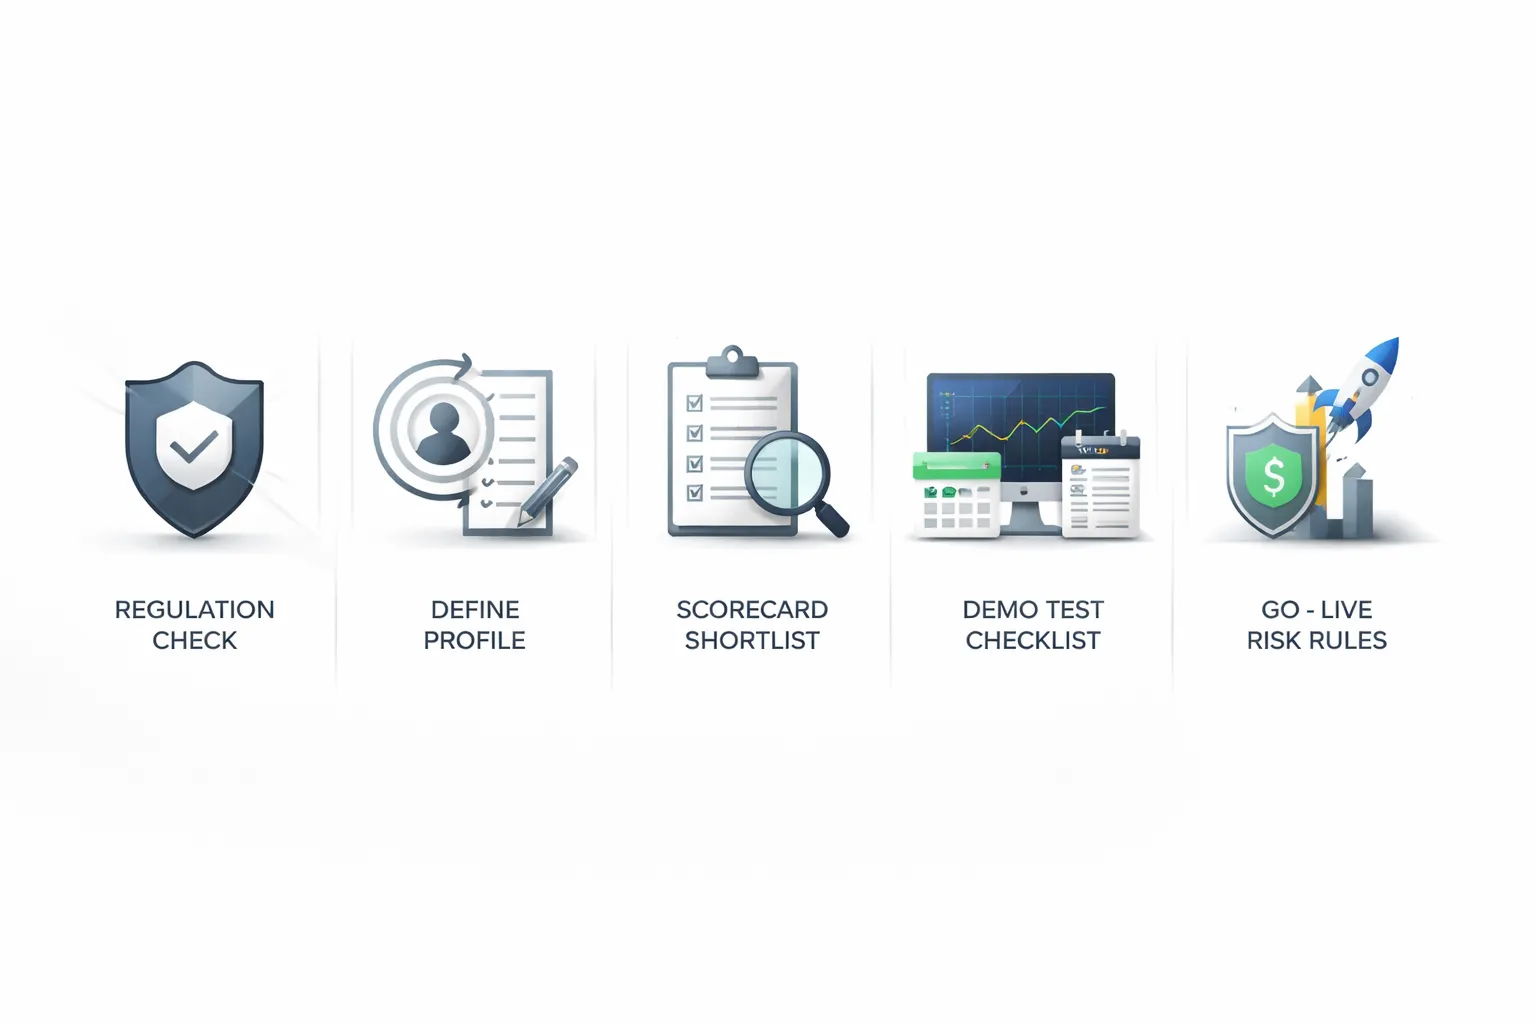
Step 1: Confirm legal availability and regulation in your country
Start with access. Then verify oversight.
- Confirm the broker accepts clients in your country. Check the broker’s legal documents and the account opening page. Do not rely on ads.
- Identify the exact legal entity you will onboard with. Many brands run multiple entities. Your entity sets your protections, leverage, and complaint process.
- Verify the regulator on the regulator’s site. Match the entity name, license number, and website domain.
- Check client money rules. Look for segregated accounts, compensation scheme access where applicable, and audit requirements.
- Confirm product limits. Some regulators restrict CFDs, leverage, bonuses, and crypto CFDs. This changes your experience.
If you need a deeper checklist, use this guide on regulated forex brokers.
Step 2: Define your beginner profile
Pick one primary goal. You can change later. Your goal drives the broker choice.
- Learning-first. You need a strong demo, clear platform, short lessons, and stable execution. You accept slightly higher costs for clarity and support.
- Low-cost. You need tight spreads or low commissions, low non-trading fees, and transparent swap rates. You avoid complex pricing you cannot verify.
- Copy trading. You need a regulated copy program, full provider stats, clear risk controls, and the ability to cap allocation per provider.
- Mobile-first. You need a fast app, clean order ticket, easy position sizing, alerts, and simple funding. You avoid platforms that hide key costs on mobile.
Step 3: Shortlist brokers using a scorecard
Use a simple scorecard. Score each item 1 to 5. Drop any broker with a deal-breaker.
| Category | What to check | Beginner standard |
|---|---|---|
| Trust | Regulator, entity, segregated funds, negative balance protection, complaints process | Tier-1 regulation where possible, clear entity disclosure |
| Costs | Typical spread on EUR/USD, commissions, swap rates, inactivity and withdrawal fees, FX conversion | Costs easy to find and easy to compare |
| Platform | Order types, charting, stability, slippage controls, mobile usability | Fast, simple order ticket, reliable charts |
| Education | Platform tutorials, risk sizing help, structured lessons, webinars | Short learning path you can finish in weeks |
| Funding | Minimum deposit, local transfer options, card support, processing times, fees | Low minimum, predictable fees, quick withdrawals |
- Set your deal-breakers. Example: unregulated entity, unclear fees, no demo, withdrawal friction.
- Compare like with like. Same entity, same account type, same platform, same instrument list.
- Document proof. Save screenshots or links for fees, margin, and negative balance terms.
Step 4: Demo test checklist and a first-week practice plan
Use the demo to test the broker, not your ego. Keep it controlled and repeatable.
- Demo test checklist.
- Place a market order and a limit order. Confirm fills and confirmations.
- Set stop loss and take profit on entry, then modify them.
- Test position sizing. Confirm you can trade micro lots or small contract sizes.
- Check spreads during liquid hours and during news. Record typical ranges.
- Find swap rates and margin requirements inside the platform.
- Test mobile alerts, watchlists, and chart templates.
- Contact support once. Measure response time and clarity.
- Your first-week practice plan.
- Day 1: Learn the order ticket. Place 10 trades with tiny size. Focus on stops and limits.
- Day 2: Practice risk per trade. Use a fixed risk rule, record entry, stop distance, and size.
- Day 3: Trade one pair only. Track spread, slippage, and execution notes.
- Day 4: Practice one setup only. Avoid adding indicators.
- Day 5: Review the journal. Remove steps that cause errors.
Step 5: Go live safely
Switch to live only after you can place and manage orders without mistakes.
- Start small. Use the minimum size that still teaches you execution and discipline. Treat the first month as paid training.
- Set hard risk limits.
- Risk per trade: keep it low and fixed.
- Daily loss limit: stop trading when you hit it.
- Weekly loss limit: pause and review when you hit it.
- Use a simple trade checklist. Entry reason, stop location, position size, and maximum loss in account currency.
- Review after 20 to 50 trades. Check average spread paid, swaps, total fees, slippage notes, and whether you followed your risk rules. If the broker fails on costs or execution, switch before you scale up.
Glossary: Beginner Forex Terms You’ll See on Broker Pages
Pips
A pip is a standard unit of price movement. Most forex pairs quote to 4 decimals. On EUR/USD, 0.0001 equals 1 pip. JPY pairs usually quote to 2 decimals. On USD/JPY, 0.01 equals 1 pip.
You use pips to compare spreads, measure wins and losses, and set stops.
Spreads
The spread is the difference between the bid and the ask. It is a built-in trading cost. You pay it when you enter, then you need price to move enough to cover it.
- Tight spread: lower cost per trade.
- Wide spread: higher cost, more break-even distance.
- Variable spread: changes with liquidity and news.
- Fixed spread: stays stable, may come with stricter execution rules.
When you compare brokers, check the typical spread, not the best-case minimum.
Lots
A lot is position size. Most brokers use these common sizes.
- Standard lot: 100,000 units of the base currency.
- Mini lot: 10,000 units.
- Micro lot: 1,000 units.
Lot size drives your pip value. Bigger lots mean bigger gains and bigger losses per pip.
Margin
Margin is the money your broker locks as collateral to keep a leveraged trade open. It is not a fee. It reduces your available free margin while the trade runs.
- Used margin: collateral locked for open trades.
- Free margin: funds available to open new trades or absorb losses.
- Margin level: a health metric brokers use for margin calls and forced liquidation.
If your loss grows and your free margin drops, your broker can close trades to protect the loaned funds.
Leverage
Leverage lets you control a larger position with less cash. A 30:1 leverage cap means you can control up to 30 times your margin amount.
Leverage does not change market risk. It changes how fast your account equity moves. Use it to reduce required margin, not to increase risk per trade.
Bid and Ask
Bid is the price you can sell at. Ask is the price you can buy at. Charts often show bid. Your actual entry and exit depend on both.
- You buy at ask and sell at bid.
- Your stop-loss on a long triggers on bid, your take-profit on a long fills on bid.
- Your stop-loss on a short triggers on ask, your take-profit on a short fills on ask.
Slippage
Slippage is the difference between your requested price and your fill price. It happens when price moves fast or liquidity is thin.
- Negative slippage: worse fill, higher cost.
- Positive slippage: better fill.
Track slippage during news and at session opens. It can dwarf the spread on a small account.
Requotes
A requote happens when your broker rejects your requested price and offers a new one. You see this more with instant execution setups and during fast markets.
Requotes can cause missed entries and exits. If you see frequent requotes, treat it as an execution problem, not bad luck.
Execution Models: Market Maker vs ECN and STP
Your broker routes and fills trades using a specific execution model. It affects spreads, commissions, slippage, and how orders behave in volatile markets.
- Market maker: the broker often takes the other side of your trade and sets its own quotes. Spreads may look stable. Requotes can occur. Execution rules vary by broker.
- STP: the broker routes orders to external liquidity providers. Spreads are usually variable. Slippage can happen. Markups may replace or sit on top of commissions.
- ECN: you trade into a pooled order book. Spreads can be very tight. You usually pay a clear commission per lot. Slippage still happens in fast moves.
If you want the full breakdown, read our guide on ECN vs STP vs market maker brokers.
Swap, Rollover, and Overnight Financing
Swap is the overnight interest adjustment on a leveraged position. If you hold past the broker’s daily cutoff time, you pay or receive a financing amount.
- Swap long: cost or credit for holding a buy position overnight.
- Swap short: cost or credit for holding a sell position overnight.
- Triple swap day: one weekday charges three days to cover the weekend.
Swap depends on the pair, your direction, your broker’s rates, and your account type. You should check the broker’s swap table before you hold trades for days.
Financing Rates and How Overnight Costs Work
Brokers publish overnight rates as swap points, a cash amount per lot, or an annualized percentage. The platform converts it into your account currency.
- Higher leverage can increase the effective impact of financing because you control more notional value.
- Exotic pairs often carry higher swap costs.
- Broker markups vary, even on the same instrument.
If you swing trade or hold positions, treat swap as a core cost, like spread and commission.
Stop-Loss, Take-Profit, and Trailing Stops
Stop-loss closes your trade if price hits a level that caps your loss. You place it when you enter. You size the trade so the stop equals your planned maximum loss.
Take-profit closes your trade when price reaches your target. It locks in a win without you watching the screen.
Trailing stop moves your stop in your favor as price moves. It never moves farther away. It can cut winners early in choppy markets, so test it before you rely on it.
FAQ
What is the best forex broker for beginners?
The best broker matches your country, regulation, platform, and budget. Prioritize top tier regulation, low total costs, a strong demo account, and fast support. Avoid high leverage offers and vague fee pages. Test execution and withdrawals before you scale up.
How much money do you need to start trading forex?
Some brokers let you start with $10 to $100. That does not mean you should. Start small enough that a full stop loss feels trivial. Focus on consistency first. Use position sizing so your loss per trade stays fixed.
What should you check to confirm a broker is legit?
Check the broker license on the regulator website and confirm the exact legal entity. Verify your account terms, leverage limits, and negative balance protection. Read the client money rules. Use this guide on regulated forex brokers.
Which platform is easiest for beginners?
Pick the platform you can use correctly under stress. You need clear order tickets, stop loss and take profit controls, and simple position sizing. Many beginners start on MetaTrader 4 or 5, or the broker web platform. Use a demo to test speed and charts.
Are low spreads always better?
No. You pay the spread, commissions, and sometimes swap. You also pay through slippage and poor execution. Compare total cost on the pairs you trade at your typical time of day. A slightly wider spread can cost less if execution is cleaner.
Should you choose a spread-only or commission account?
Choose the cheaper option for your trade size and frequency. Commission accounts often win for active traders on major pairs. Spread-only accounts can suit low frequency trading. Run the math on your usual lot size, then include swaps if you hold overnight.
What fees surprise beginners most?
Swaps on overnight positions, deposit and withdrawal charges, currency conversion fees, and inactivity fees. Some brokers also widen spreads during news or rollover. Read the full fee page before funding. Track real costs in a journal, not just advertised spreads.
Is copy trading safe for beginners?
It can reduce learning time, but it does not reduce risk. You can still face drawdowns and strategy changes. Check provider history length, max drawdown, and trade frequency. Use small allocation and set a hard stop for the whole account.
Do you need a demo account first?
Yes. Use demo to learn order types, risk controls, and platform workflow. Treat it like real money. Then switch to a small live account to test spreads, slippage, and withdrawals. Demo results often look better than live fills.
What leverage should a beginner use?
Use the lowest leverage that lets you place trades with proper stops. High leverage increases the chance of a fast wipeout. Cap your risk per trade, then size the position. If your stop is wide, reduce lot size, not discipline.
How do you avoid blowing up your account?
Risk a small, fixed amount per trade. Use a stop loss on every trade. Avoid holding oversized positions into major news. Do not add to losers. Withdraw some profits to reduce pressure. Track your equity curve and stop trading after a drawdown limit.
Conclusion
You do not need the most popular broker. You need a broker that fits how you trade and protects your downside.
- Start with safety. Choose a regulated broker. Check the license, the legal entity, and client money rules.
- Keep costs simple. Compare the spread on the pairs you will trade. Add commission, swaps, and withdrawal fees.
- Use the demo as a test. Place market and limit orders. Test stop losses and slippage. Check platform stability at peak hours.
- Set your risk rules before you fund. Pick a fixed risk per trade. Set a weekly drawdown stop. Stick to it.
Final tip. Open the smallest live account you can. Trade one setup. Log every trade for 30 days. If you cannot follow your rules with small size, you will not follow them with big size.
If you want a faster way to filter brokers, use this practical broker checklist.
-
Regulated Forex Brokers Explained: Licenses, Safety & Red Flags
3 months ago -
Spread vs Commission: Which Forex Account Type Is Cheaper?
3 months ago -
Forex Broker Fees Explained: Spreads, Commissions, Swaps & More
3 months ago -
Forex Demo Account Guide: What It Is, How It Works & How to Use It
3 months ago -
How to Open a Forex Trading Account (Step-by-Step for Beginners)
3 months ago
-
-
- What is the best forex broker for beginners?
- How much money do you need to start trading forex?
- What should you check to confirm a broker is legit?
- Which platform is easiest for beginners?
- Are low spreads always better?
- Should you choose a spread-only or commission account?
- What fees surprise beginners most?
- Is copy trading safe for beginners?
- Do you need a demo account first?
- What leverage should a beginner use?
- How do you avoid blowing up your account?
-
-
-
- What is the best forex broker for beginners?
- How much money do you need to start trading forex?
- What should you check to confirm a broker is legit?
- Which platform is easiest for beginners?
- Are low spreads always better?
- Should you choose a spread-only or commission account?
- What fees surprise beginners most?
- Is copy trading safe for beginners?
- Do you need a demo account first?
- What leverage should a beginner use?
- How do you avoid blowing up your account?
-
-
How to Place a Forex Trade Step by Step (Your First Trade Explained)
1 month ago -
Forex Trading vs Crypto Trading: Which Market Is Better for Beginners?
1 month ago -
Forex Lot Size Calculator: How to Use It to Size Trades Correctly
3 months ago -
How to Calculate Position Size in Forex (Position Sizing Formula + Examples)
3 months ago -
Forex Leverage Explained: How It Works, Pros, Cons & Examples
3 months ago
-
Is Forex Trading Legal in the United States? Rules, Regulators & What to Know
3 months ago -
Forex Market Hours & Trading Sessions Explained (Best Times to Trade)
3 months ago -
Forex Trading Platforms Comparison: MetaTrader vs cTrader vs TradingView
3 months ago -
Forex Leverage Explained: How It Works, Pros, Cons & Examples
3 months ago -
What Is a Lot Size in Forex? Lot Types + Quick Examples
3 months ago